How to Fix a Leaky Faucet
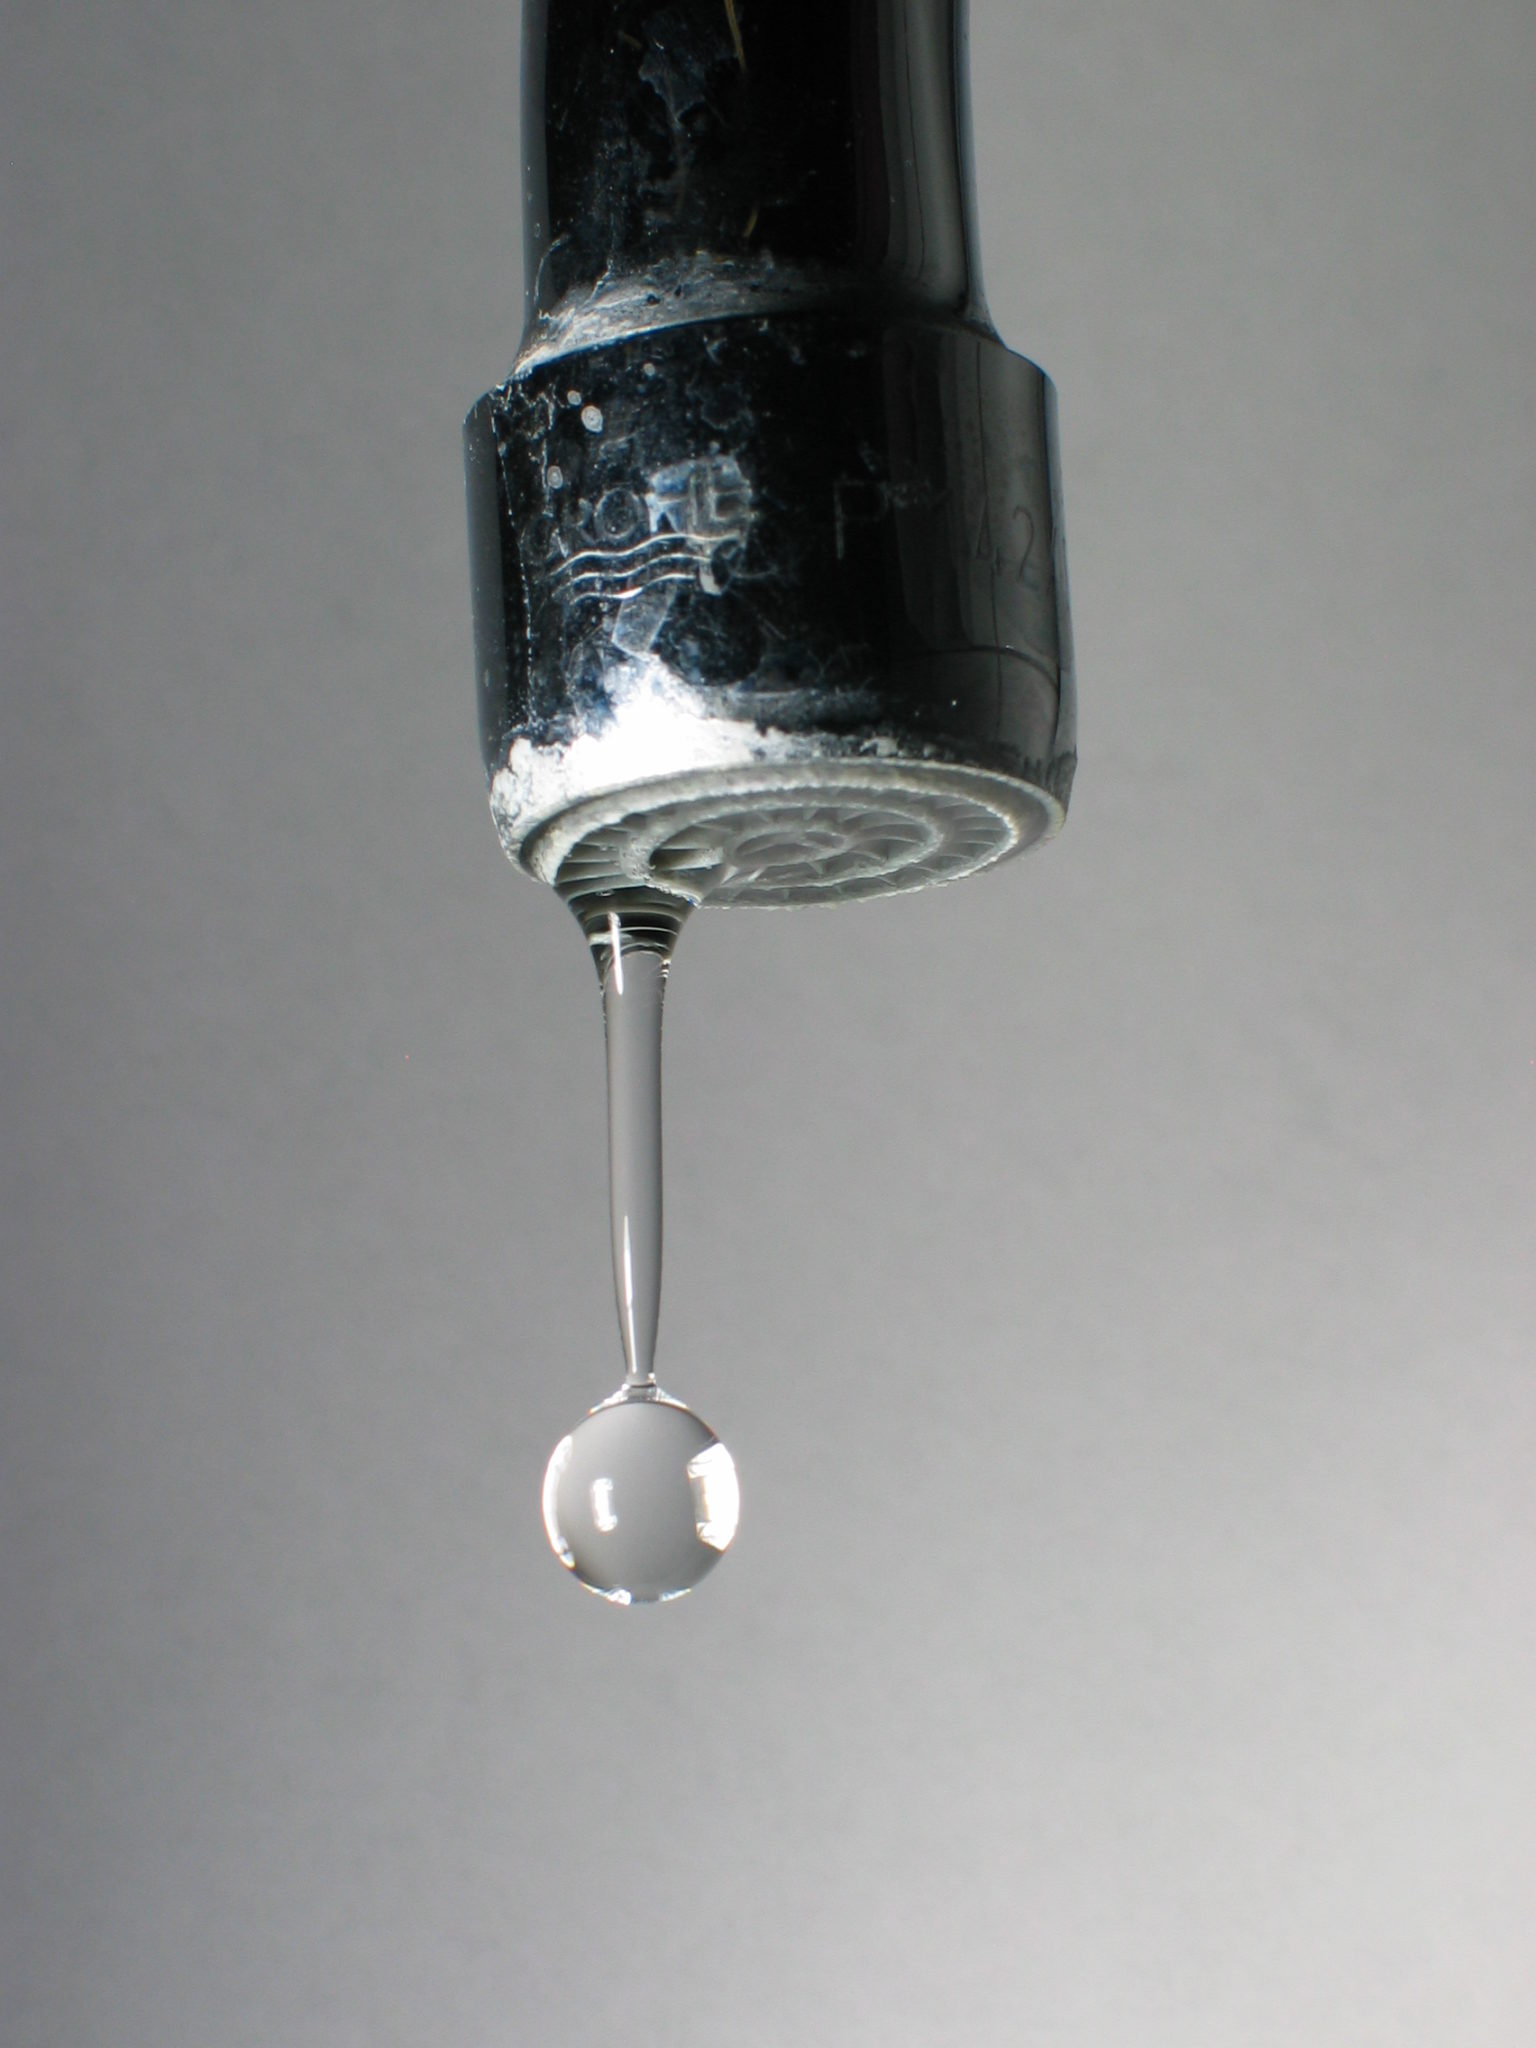
The steady drip, drip, drip of a leaking faucet is a sound that homeowners dread hearing. Many restless nights have been caused by the constant dripping of a leaky faucet. When homeowners run into this problem, they often try to solve it themselves. Sometimes, it’s an easy fix but; sometimes you may need to call for backup from a professional. Try these steps below to fix your leaky faucet yourself:
Step 1
Gather the Appropriate Tools
Before you get started trying to fix your leaky faucet, it’s important to have all the tools you’ll need for the job first. Which tools you’ll actually use may depend on the leak and what is causing it. You may need:
Step 2
Determine the Source of the Leak
Once you have all of the tools that you might need to fix the leak, you should determine exactly where the faucet is leaking. Look at where the water is dripping from. If it’s coming from the base of the faucet, the problem is most likely with the seal or the o-ring. If it’s dripping from the faucet itself, then the cause is probably a damaged part within the faucet.
Step 3
Turn off the Water
Next , it’s time to turn off the water to the faucet that is leaking. If it’s a sink that is leaking, there’s usually a stop valve underneath the sink. Depending on your sink, there may be more than one valve, one for hot and one for cold. If it’s taking you too long to find the valve, don’t waste time continuing to look for it. Alternatively, you can just shut off the water for the entire house. Open your faucet handle to remove any remaining pressure in the lines. Place a rag over the drain hole to protect and prevent losing any parts.
Step 4
Remove the Faucet Handle

After you’ve turned off the water, either to just the faucet or to the entire house, take off the faucet handle. Remove the faucet handle using a hex wrench and remove the metal cap. If the faucet base is leaking, slide the spout off and replace the damaged o-rings underneath. If the faucet spout is leaking, remove the faucet handle, cap, and disassemble the internal parts, or cartridge. Lay the parts out in order and snap a picture with your phone so you don’t forget how to reassemble them later.
Step 5
Look for Damaged Parts
Once you have all of the pieces of the faucet laid out in front of you, it should be fairly easy to spot the problem. Damaged parts are typically obviously rusted, warped, or broken.
Step 6
Replace the Damaged Parts
Once you know where the problem is, it’s time to replace the damaged parts. It may actually be a good idea to replace all of the parts in the faucet cartridge. This is because if one internal part has become damaged, it’s likely that the other parts may also soon go bad the same way. Take the parts with you to the hardware store so you know exactly what you need to replace.
Step 7
Install the New Parts
After you’ve purchased the replacement parts and have returned home, the final step is to install the new parts in your faucet. The new parts should come with instructions for how to properly install them. Once all the parts have been installed, open the faucet handle and slowly turn your water supply back on. Allow any air to bleed out of the lines and shut the faucet handle off.
Step 8
Hire a Professional
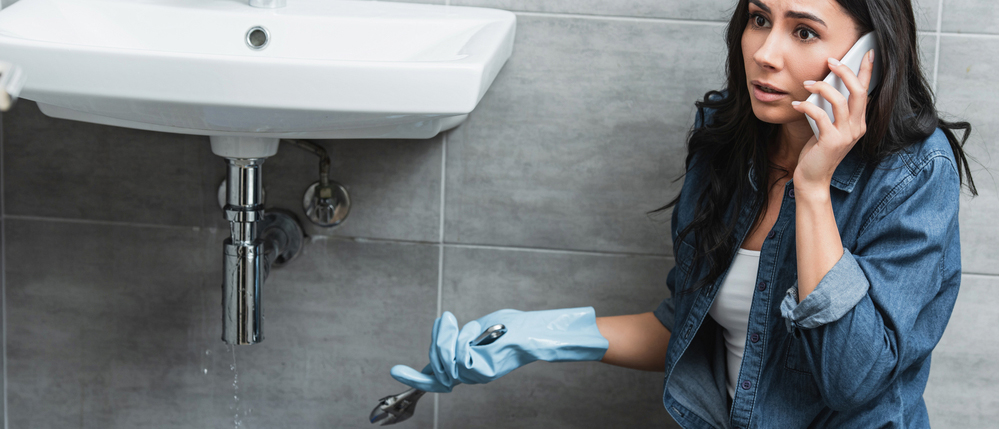
If the sink is still leaking after this, then it’s time to call in some help. Our team of professionals has years of experience in this field and can get the job done right. Contact us to get a free, no-obligation quote.
Contact us
Reach out to our team to get your free estimate or get your questions answered.
Featured services

Gutters

Plumbing

Drywall repair

Remodeling