How to Install Windows in a New House
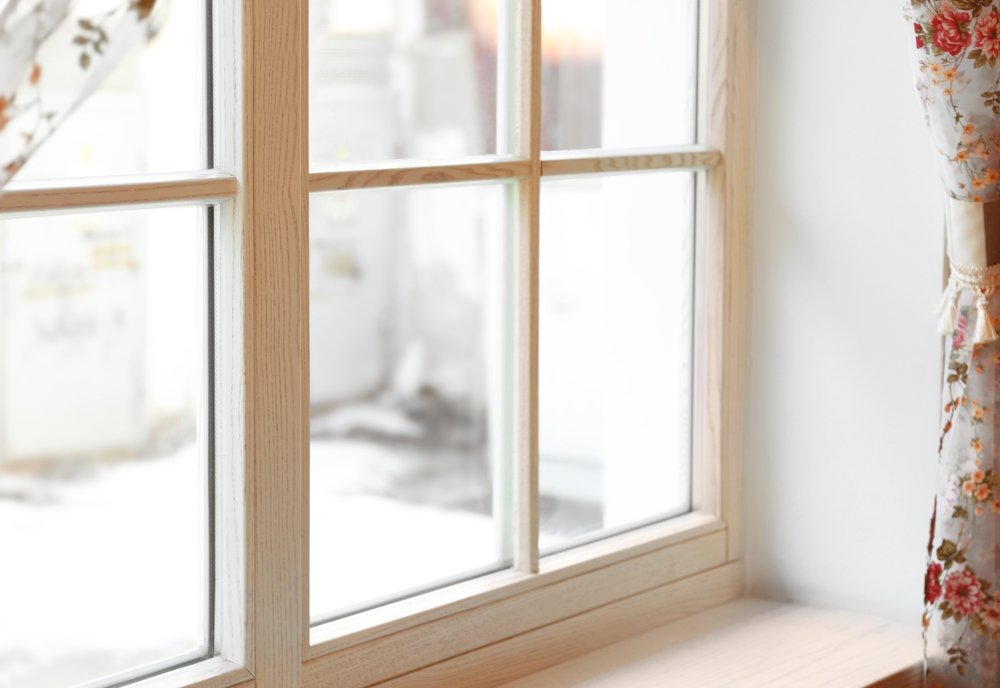
Installing new windows in an old house isn’t a challenging job. If you’ve planned to install new windows by yourself, you must be aware of some important steps. Windows not only differ in style, size, and design but they have different installation methods as well.
Here is an easy step-by-step guide to installing new windows in your old house.
Tools you will need
Before you start replacing your worn-out window, make sure you have all the necessary tools required for window installation.
These include:
How to install new windows
Once you’ve gathered all the tools necessary for window installation, follow these easy steps to replace your old windows safely and professionally.

Step #1
Measure the windows
The first and foremost step in window installation is taking accurate measurements of the windows. Before starting with the installation process, make sure you’ve got the right measurements so you can find the perfect fit. Measure the dimensions of your current window frame to ensure you order the right size of the replacement unit.
How to take accurate measurements:
Step #2
Remove the sash
How to remove the sash from the window frame:
Step #3
Pry out the jamb liners
If the frame was previously fitted using vinyl or aluminum jamb liners, pry them free with a flat bar. When working on the original window, take off any wooden stops you see from the frame. Additionally, don’t remove the interior and exterior casings.
Step #4
Set up the frame
Scratch all the loose and blistered paint you see and patch all the cracks and holes using exterior-grade wood putty.
Step #5
Prep for insulation
Consider polyurethane foam for insulation as it is more effective at obstructing the air than fiberglass insulation. Make sure that you only use a low-pressure, minimally expanding foam specifically designed for windows and doors. Anything else will bend the frame and restrict the sash from working properly.
Step #6
Spray in the foam
How to spray in the foam:
Step #7
Caulk the opening
To install the window, apply an elastomeric caulk on the inner face of the exterior casings or to blind stops you can see at the top and sides of the frame. Furthermore, run two continuous beads of caulk along the windowsill.
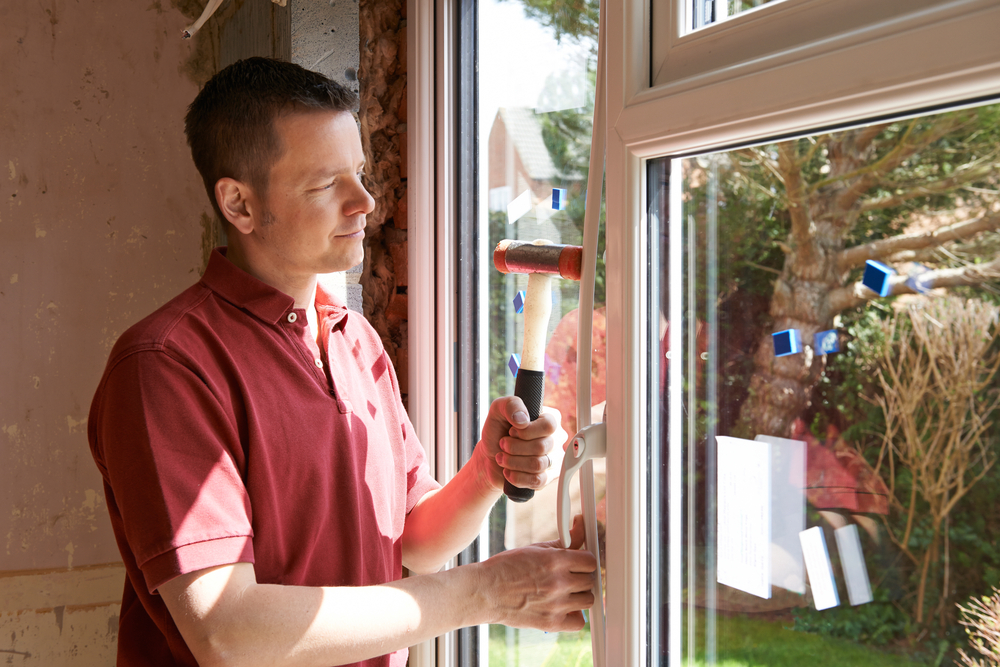
Step #8
Install the new window
Work from inside the room and follow these steps:
Step #9
Fasten the window loosely

Once you’re done with installing the new window, hold it in place with a 2-inch screw-driven screw-driven loosely along the upper side jamb and into the frame. Make sure that the screw is in just far enough to let the window operate properly. Finally, close and lock the sash.
Step #10
Wedge as necessary
How to wedge as necessary:
Step #11
Caulk, prime, and paint
Follow these simple and easy steps to paint the window your desired color:
Ready to replace your old windows?
Taking accurate measurements and making sure your window fits in perfectly is a challenging task. It is better to hire an expert to get the job done. Our trained and professional workers will install your new windows effectively. Contact us today and get a free quote.
Contact us
Reach out to our team to get your free estimate or get your questions answered.
Featured services

Gutters

Plumbing

Drywall repair

Remodeling