Install Floating Shelves

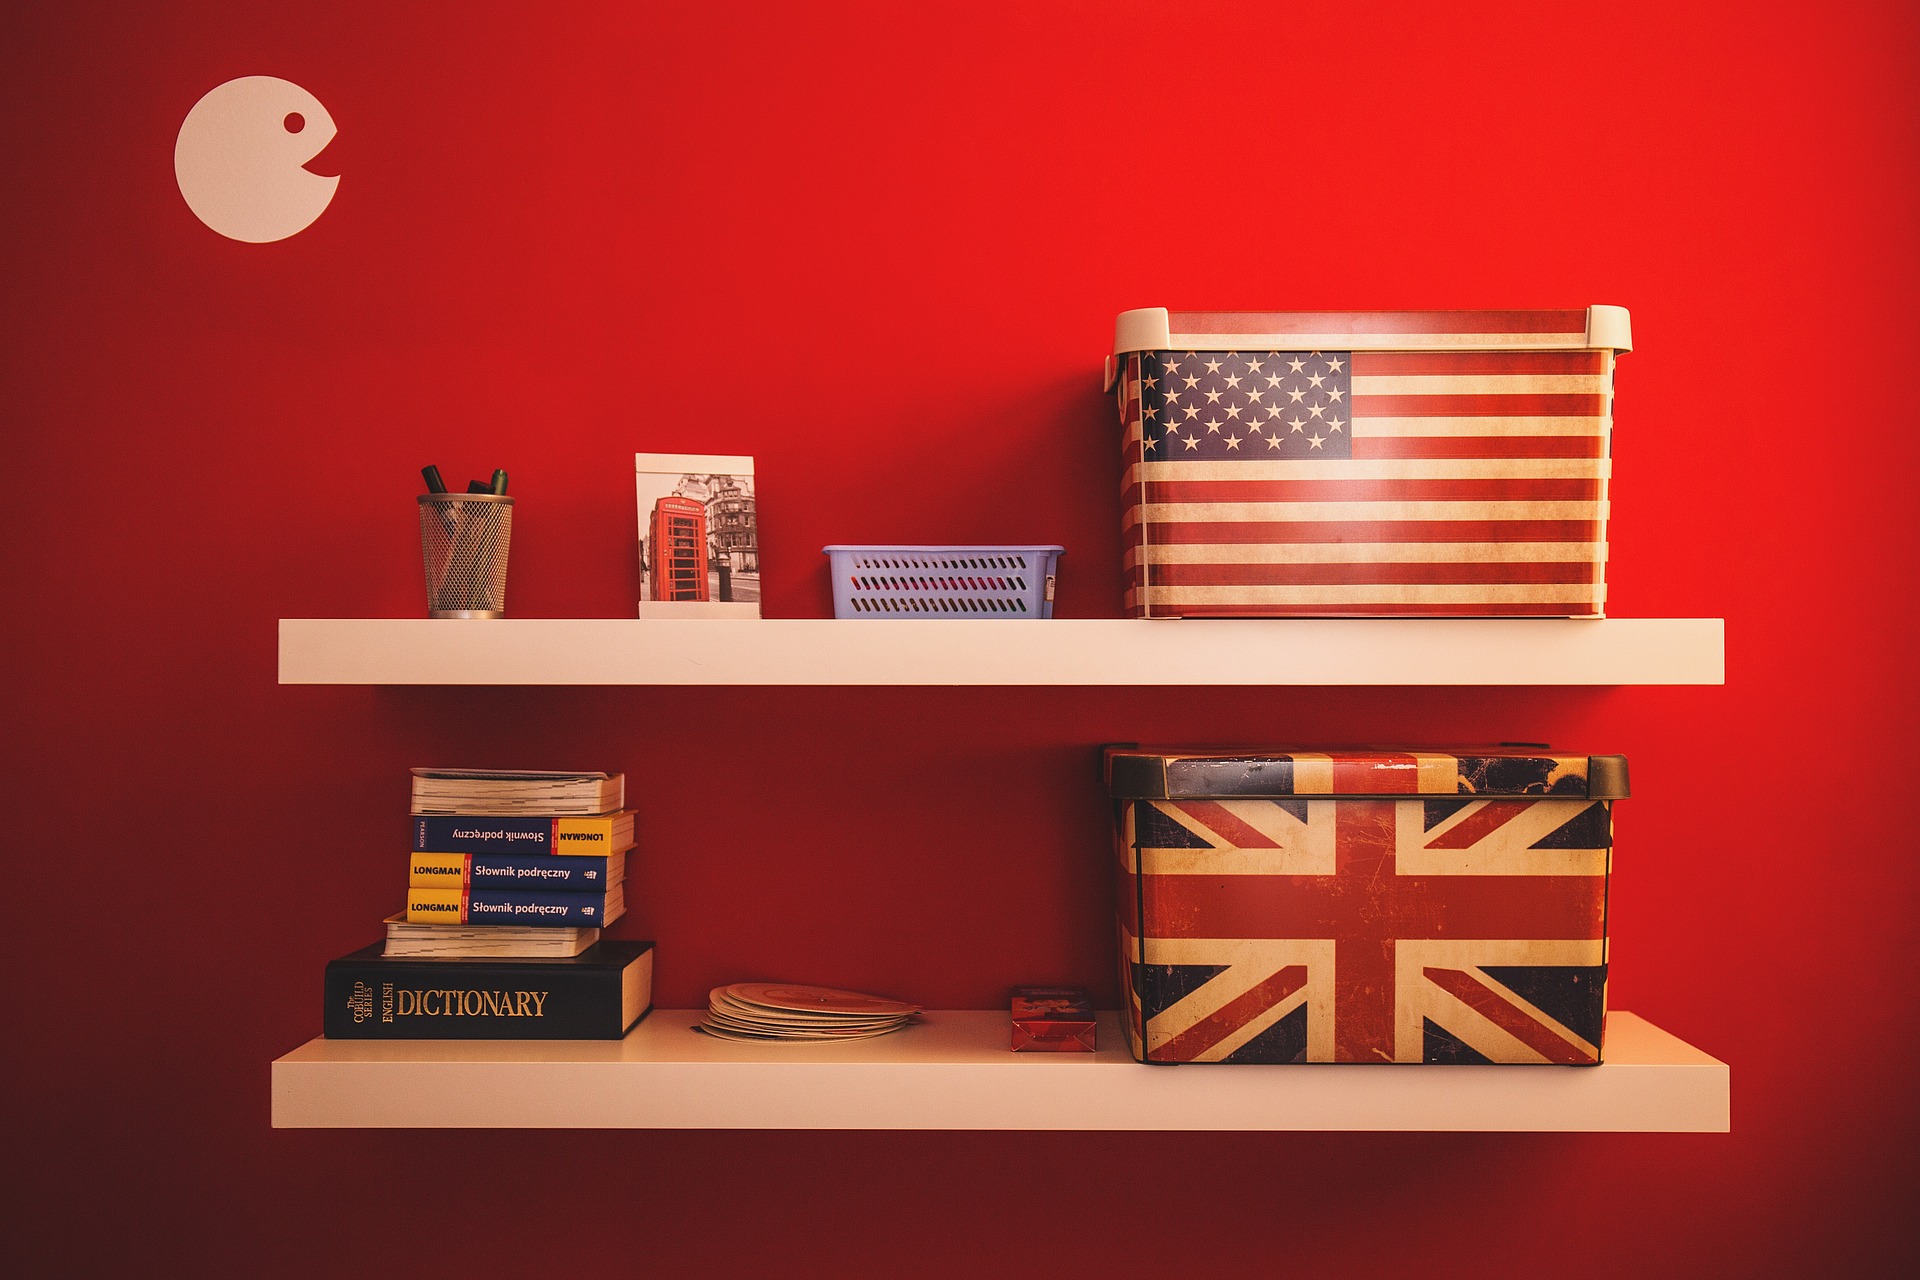
If you’re looking to add a unique decorative touch to any room, you might want to consider installing floating shelves. Floating shelves are a versatile way of adding storage space while allowing the decorator to include their own personal flair. These shelves can serve a functional purpose for storing books but also serve a decorative purpose if you want to display a small plant or photo frames.
We offer design and installation of floating shelves if you’d like to hire a professional handyman service to help you with your project.
If you’re hanging a single shelf many choose to center it in the middle of the wall or align the shelf on the left or right side. When hanging multiple shelves many homeowners like to stagger the shelf height to give some variety to the decoration. Before getting started on installing the shelves, you’ll want to evaluate the room you’re decorating; ensuring there is enough support for the shelf itself, and whatever it’s holding. For the purpose of this article, we’ll assume you’re mounting the shelves on studs in the wall. Let’s go over some tools and supplies you’ll need:
- Shelves
- Mounting brackets or anchors
- Screws
- Tape measure
- Stud finder
- Pencil or tape
- Power drill with bit
- Level
Use the stud finder to locate studs on your wall. Studs will be either 16” or 24” apart. Mark stud location across the wall using a light pencil mark or tape. Depending on the shelf you’re hanging, more than 2 support brackets may be required. Once studs have been marked, use your tape measure from the ground up to mark how high the shelves will be placed. Pencil mark the height and grab your brackets. Holding the bracket up to the mark you just made, use your pencil to mark pilot hole location. Remember to always use a slightly smaller drill bit than the screw you’re using on the bracket.
Carefully drill your pilot holes. Take your time and ensure the drill bit is going straight into the stud. When you get all the pilots drilled out, grab the screws and a bracket. Attach your first bracket to the wall, ensuring the screws are firmly anchored. Grab your shelf and ask a friend to hold up your second bracket in the marked spot. Put the shelf on your brackets. Using a level, ensure the spot you marked for the bracket attachment will be level when finished. If it’s level, repeat the same steps as the first bracket. Once the brackets have been attached you can mount your shelf as instructed in the packing. After installing all the shelves go back and erase pencil marks.
These floating shelves will add a unique decorative flair to your home and provide extra storage. If you like the idea of having these shelves, but don’t have time to take on this project yourself, I’d love to help. With years of home improvement experience I can take care of any shelf hanging you have in mind. Fill out my free estimate form to get started today!


