How To Replace Bathroom Caulking
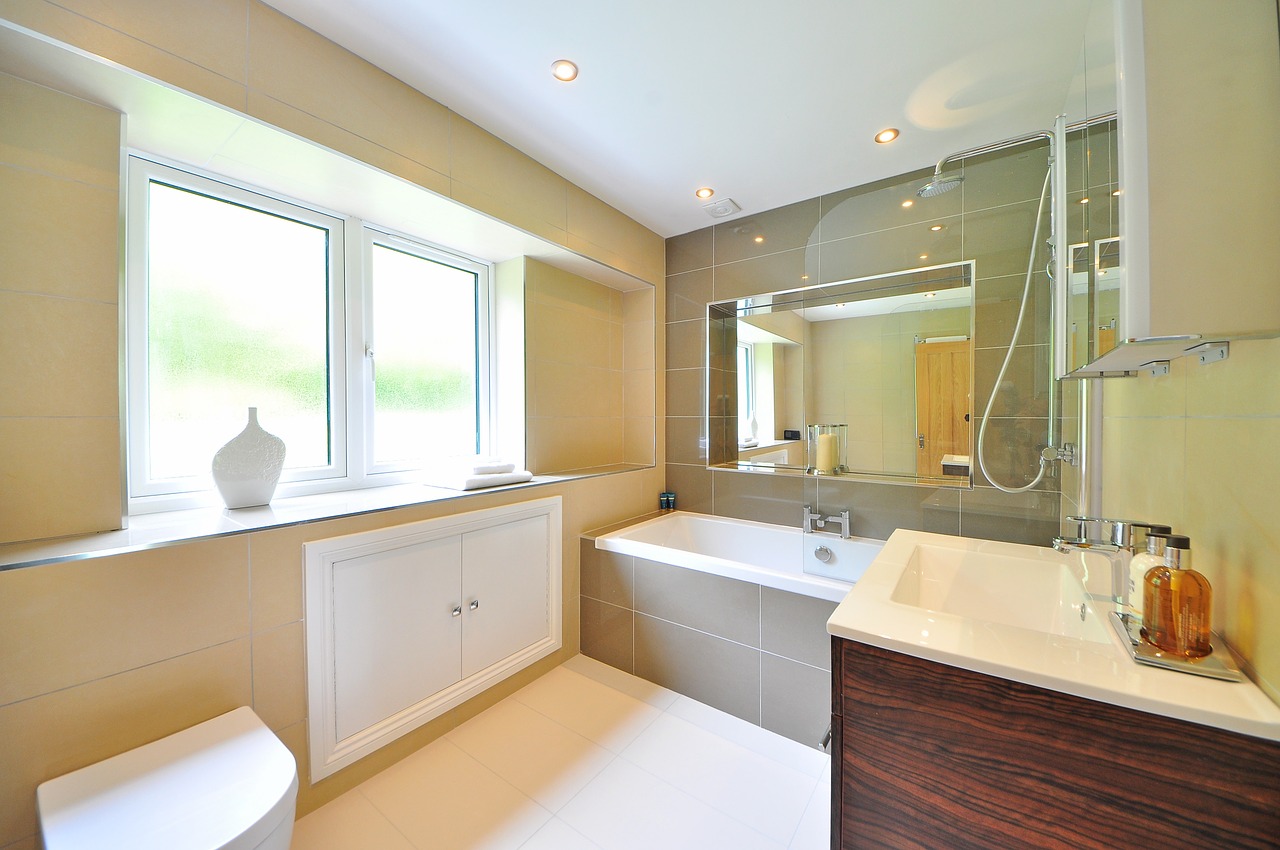
If you’ve lived in your current home for more than 5 years you’ve probably noticed some changes around the house. Paint starts to fade, carpet doesn’t look quite the same, and don’t even get me started on the back deck. The bathroom is no exception to this trend. Because bathrooms are such a high traffic area of the home, they tend to take more of a beating than most rooms. One thing homeowners might start to specifically recognize is bathroom caulking starting to split or fall out. In this article we’ll be going over how you can replace the caulking in your bathroom, start to finish.
If you’d like to employ our professional handyman services to help you, give us a call or fill out an estimate form.
First, let’s go over some things you’ll need:
- Utility knife
- Razor scraper or painter’s tool
- Old rags or paper towels
- Mineral spirits or paint thinner
- Bathroom caulking
- Caulk gun
Now let’s locate the areas that may need to be re-caulked. Because bathrooms can have high moisture levels, caulk around tubs, sinks, cabinets, and even windows may need to be replaced. Generally speaking, caulk should last around 5 years before showing signs of deterioration or splitting. This can depend on usage and moisture content.
Once you’ve located the spots that need replacing, you want to remove the old caulk and clean the surrounding area. To get started with this, take a utility knife or razor blade and carefully cut along the edge of the caulk lines; trying not to damage the surrounding material. Use your painter’s tools to remove the caulk and scrape remnants away from surrounding material. Depending on how much moisture is in the air, there may be mold or caulking residue left around the area. Grab your mineral spirits and a rag. Put a small amount of spirits on the rag and carefully clean the area. Allow the area to completely dry before moving on to the next step.
Once your work area has completely dried grab your bathroom caulking. This can be clear or colored caulking, depending on your preference. Insert your caulking tube into the caulking gun and using a utility knife, cut off approximately ¼” tube tip at a 45 degree angle. This should leave you a small, angled hole for caulking application. Using smooth, steady motion apply a thin bead of caulking to the selected area. The angled tip should allow you to fit caulking into empty grooves easily. Once you’ve applied a thin bead of caulking, take your wet finger and gently smooth the caulk line. Careful not to apply too much pressure. Take a rag or damp paper towels and wipe away any access caulk. Once you’ve caulked all the areas, allow 24 hours for the product to completely set up and dry before using the bathroom.
There you have it! Now your bathroom fixtures are freshly sealed and protected for the next 5 years. Keep in mind, if you have mold issues or sheetrock needs replaced, a simple caulking job may not fix the problem. If your bathroom needs some more attention, fill out my free job cost estimate form to see how I may be able to help you. I have years of experience with home repair and would love the opportunity to work with you.
Contact us
Reach out to our team to get your free estimate or get your questions answered.
Featured services

Gutters

Plumbing

Drywall repair

Remodeling
