A Tile Fell Off — Why Bathroom Tiles Come Off and How To Fix Them
Sep 5, 2023
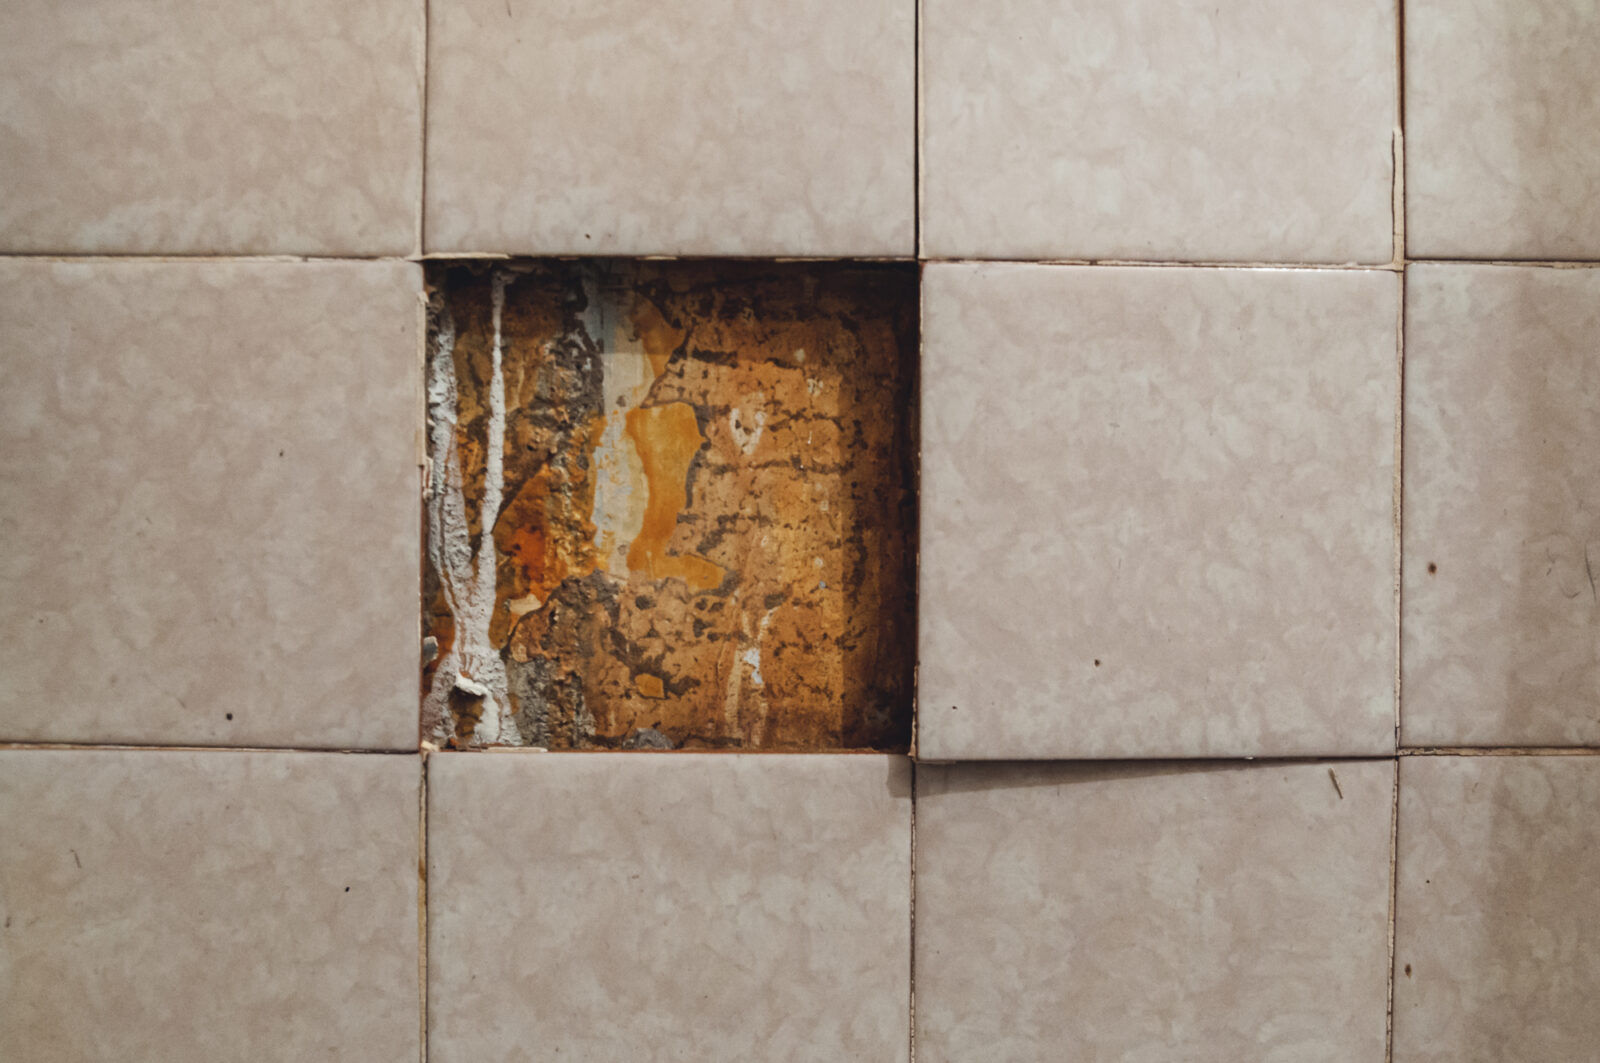
Not only do loose and falling tiles look unappealing, but they can lead to BIG problems when left unfixed — mold and damage to underlayment to name a few.
What are the reasons for tiles fall off?
The most common cause of tiles falling off the shower wall and baths is poor installation, followed by hot water.
The plaster under the tiles isn’t primed
To make your tiles stick to the wall completely, the plaster underneath must be properly primed. When you are putting up the tiles on your walls, make sure to prime the tiles and the surrounding area. This primer will help make the area waterproof with a thin, long-lasting layer that holds the tile securely in place and prevents water from reaching the walls.
The product used for priming the tiles before installation is usually latex or oil-based, which gives it a water repellent quality. The primer must be applied to the entire wall area before putting up the tiles.
The tiles were not cleaned before installing
It’s crucial to clean and wipe off the tiles before you put them in place, as chalk dust residue may remain. The chalk dust will prevent the tiles from properly adhering to the wall.

The adhesive is not properly applied
Ensure that the tile adhesive you buy is water-resistant. Apply the adhesive evenly on every tile. If you skip this important step, the tiles will eventually fall off.
Tiles are not grouted properly
Another obvious reason for the tiles to fall off is that the grouting was done too early. Make sure you leave the tile adhesive set for at least 24 hours before grouting the tiles.
Incorrect tile grout is used
An important factor to consider when buying a tile grout is to choose the right tile grouting product. Find a waterproof tile grout, so no tiles come off because of moisture.
If you fail to grout the tiles properly, water can get behind them. Because of this, the tiles become loose and fall off quickly.
Important tips for grouting:
- Make sure you press the wet grout evenly around all seams of the tiles without missing any area.
- Scrape away excess grout.
- Once you are done grouting, leave the shower to dry for at least 24 hours to let the grout set before cleaning off excess.
- Leave the grout to dry for at least 2 days before sealing.
- Wait at minimum 3 days for sealing to cure before using.
The correct grout sealant is not used
It is important to spray every tile seam with a grout sealant once your grout is set. If you skip this key step, then water will absorb in getting behind the tiles and causing them to once again fall off the wall. Therefore, it is crucial to buy a good sealant that also has anti-fungal properties. This will prevent the development of any mold or mildew.
Expert tip: invest in specialist sealing strips for spaces around the shower attachments and faucets.
The tiles were not left to set
It is important to allow grout to entirely set up and dry before you walk on it to prevent moving tiles and causing the grout to be disturbed. Wait at least 24 hours, before walking on the floor.
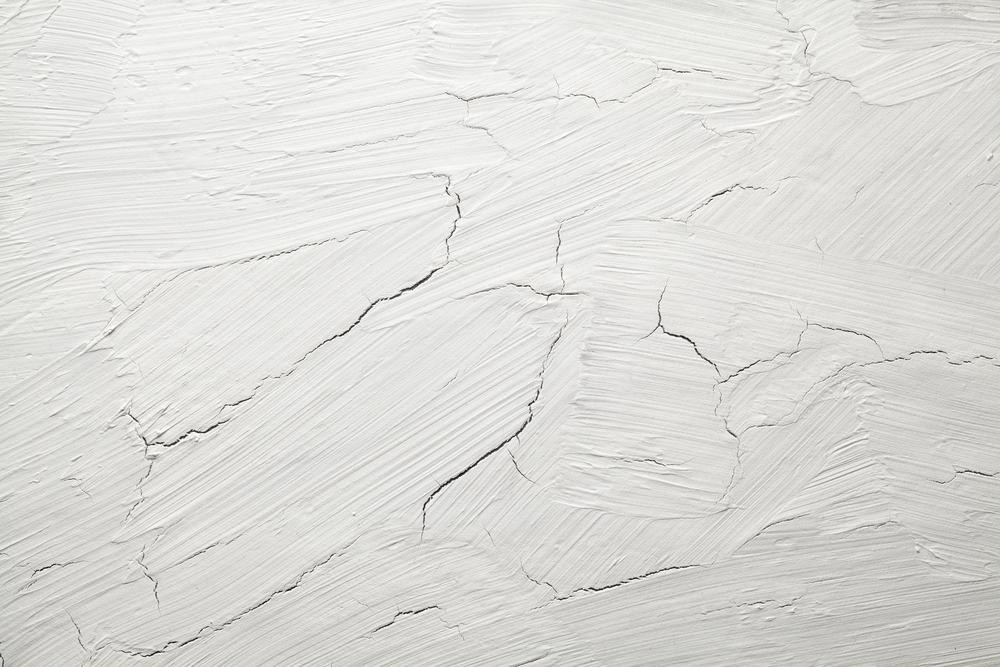
Uneven surface of the shower wall or floor
Irregular surfaces also cause tiles to flex and start the process of falling off the wall. A wall with humps and dips should be smoothed. Tiles best adhere to flat surfaces.
How to stop a tile from falling off bathroom walls
Here is an easy step-by-step guide that can help you fix the broken or missing tile in your bathroom.
Smart tips for working with tiles in the bath or shower:
- Cover the drain hole with masking tape to reduce the chances of bits of tile, adhesive, or dust from falling down the drain.
Step 1: Take the tile off
If your tile hasn’t already fallen off entirely but is still broken, you will need to remove the remaining tile pieces (even the small ones). When removing the broken tile, make sure you don’t accidentally damage the adjacent tiles on all sides. Try to get the area under the tile as clean and smooth as possible.
Step 2: Buy a new tile and adhesive
Once you’re done removing the tile, choose the right replacement tile. Before visiting your local hardware shop, make sure you have the correct measurements so the new tile fits in properly. If the tile isn’t broken completely, it’s better to take the fallen tile with you when buying a new one.
After choosing the right tile, select the right adhesive for it. You can find a variety of tile adhesives on the market, each made for a specific purpose. Ask the seller to help you choose the right adhesive for your bathroom or any area you want to place the new tile.
For bathroom tile replacement, we recommend you buy a water-based mastic adhesive. Only a thin layer of adhesive should be applied at the back of the tile, and the tile should be pressed firmly into the place and held for about half a minute.
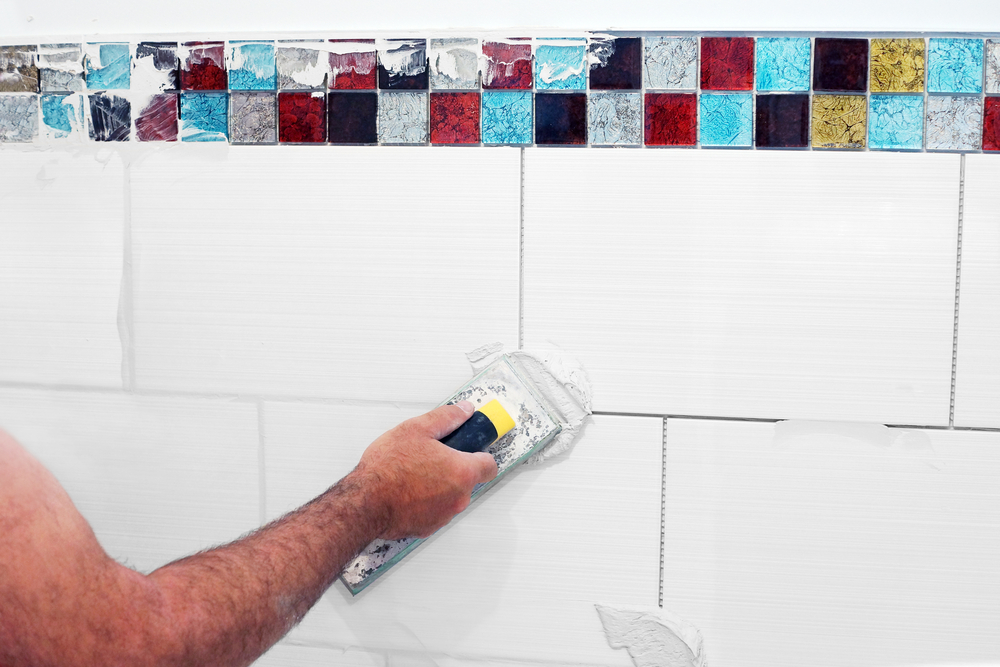
Step 3: Grout the tile
Grouting prevents the water from getting behind the tile so that it stays in place. Before proceeding with this step, make sure that the adhesive you applied has completely dried.
There are two types of grout to take into account:
- Unsanded grout, which is ideal for tiles that are ⅛ inch or less apart
- Sanded grout, which works best for tiles that are more than ⅛ inch apart
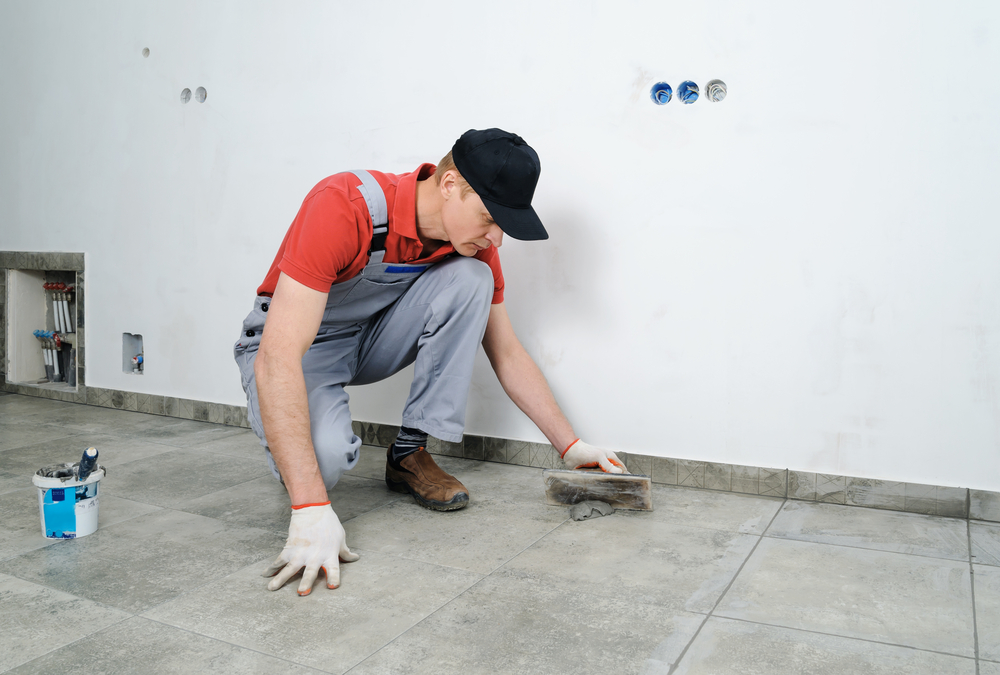
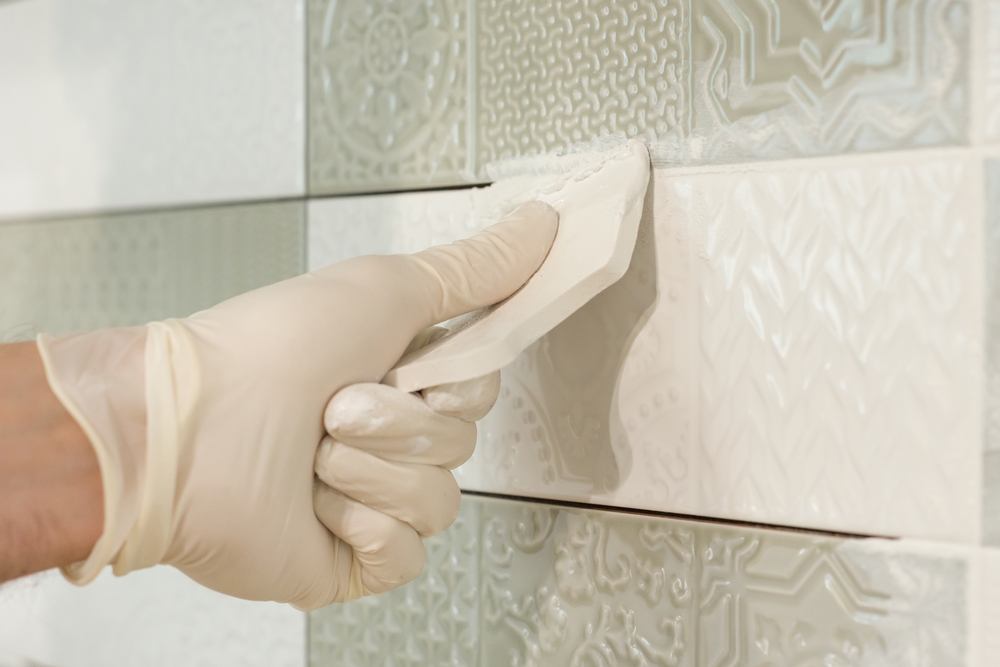
To apply the grout:
- Mix it with water to turn it into a paste (If you’re replacing one tile or two, you won’t be needing much product)
- Apply the grout evenly onto the tile surface
- Apply beyond the edges to ensure it reaches every corner of the tile
- Carefully remove any grout that gets on the surface of your tile
Step 4: Leave it for 24 hours to set
To make your new tile(s) last longer, make sure you leave the grout to set for at least 24 hours.
After the grout is fully cured, apply a grout sealant. Try to let the sealant cure for at least 3 days before using.
Need help with bathroom tiles falling off?
If you need help replacing or wonder if there is a bigger problem, it’s best to reach out. Our Knoxville-based professionals know the right adhesives and grouts for the right places. And because we have been installing and replacing bathroom tiles for so long, we will recognize any underlying issue that might be causing tiles to fall off.
Don’t want to fool with tile problems any longer? Let the professionals at Smith fix your loose tiles. Contact us for efficient and long-lasting results.
Contact us
Reach out to our team to get your free estimate or get your questions answered.
Featured services

Gutters

Plumbing

Drywall repair

Remodeling